How the ADV1 Fits Different Makes/Models of Adventure Motorcycles
One of our key design goals of the ADV1 adventure motorcycle trailer was to make it easy to adapt it to fit a variety of makes and models (and sometimes the year matters) of motorcycles. That has proven to be challenging, but we’ve figured it out! There are just three parts that need to be made specific to the make/model of the bike to attach the ADV1 properly:
1. Axle Adaptor
Most Bikes are Quite Simple
To connect the ADV1 to your adventure bike, we put an axle adaptor through your hollow rear axle, and the axle adapter has, what we call spools on the end. Here’s what a one looks like on a Yamaha Super Ténéré

And here is what it looks like on the bike.

The parts that are specific to each bike are the threaded rod that goes through the axle, and the end cups. For most bikes, the whole adaptor is tightened down with M8 bolts, but on some bikes (for example, the Yamaha Ténéré 700) have a smaller hole on the nut side, so we use an M6.
The outermost part of the spools are very strong needle bearings that our hitch arms grab on to. The bearings provide a pivot point for the ADV1 to move up and down, such as when you go through a trough, a rut, or hit a rock.
The BMW R1200/1250GS is not As Simple
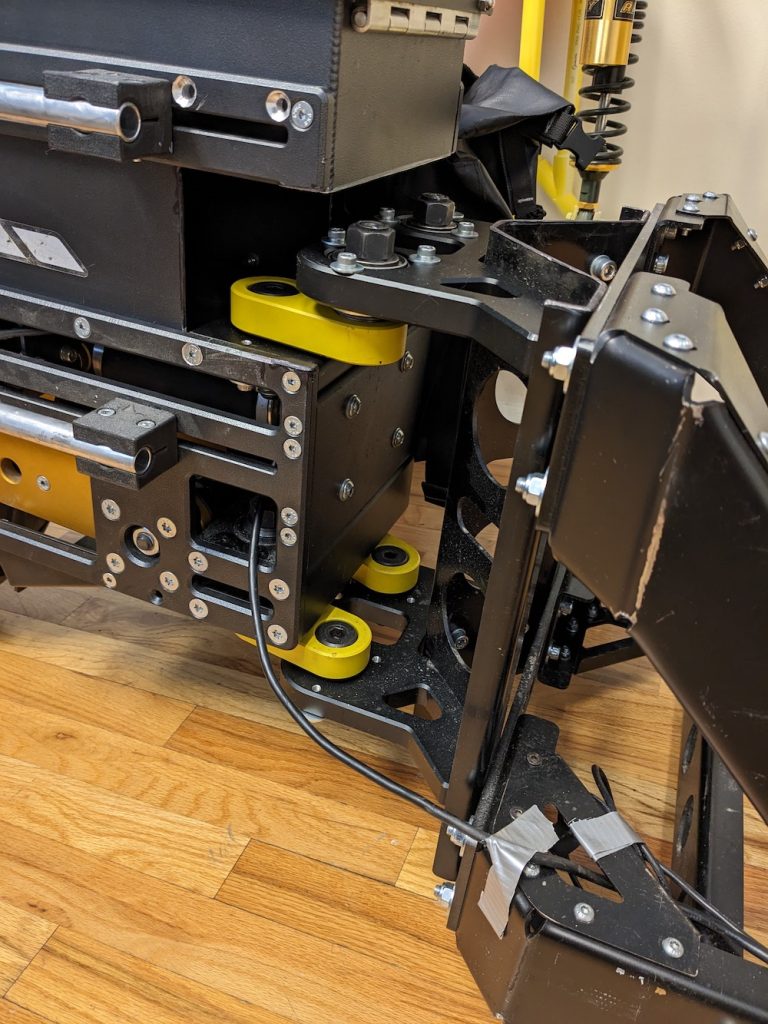
I have written an entire blog post on how we connect to a GS. For those who don’t want to follow that link, here’s a picture of what it looks like.

The last thing to know about axle adaptors is, the adaptor for the R1200/1250GS will cost nearly $1000 in addition to the cost of the ADV1. This will likely be true when we are able to support single-swing-arm Tigers as well.
However, for most bikes, the axle adaptor for one bike will be included in the price of the ADV1.
2. Centering Plate
For each make and model of motorcycle, the distance from the center of the tire to our spools is different.

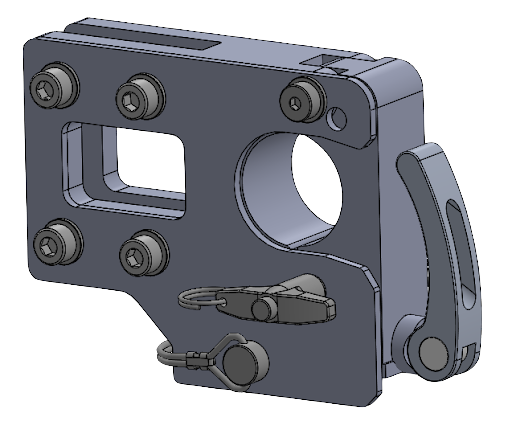
In order for the ADV1 to be exactly centered behind your bike, we have to make sure the ADV1’s hitch arms are positioned perfectly. To do this, we design a centering plate which connects the ADV1 to the hitch arms in exactly the right position so the ADV1 is perfectly centered with your bike.

With the centering plate, we can easily work with bikes like the Harley Davidson Pan America and the Honda Africa Twin, which are nearly symmetrical. However, we can also line up very non-symmetrical bikes like the BMW R1250GS.
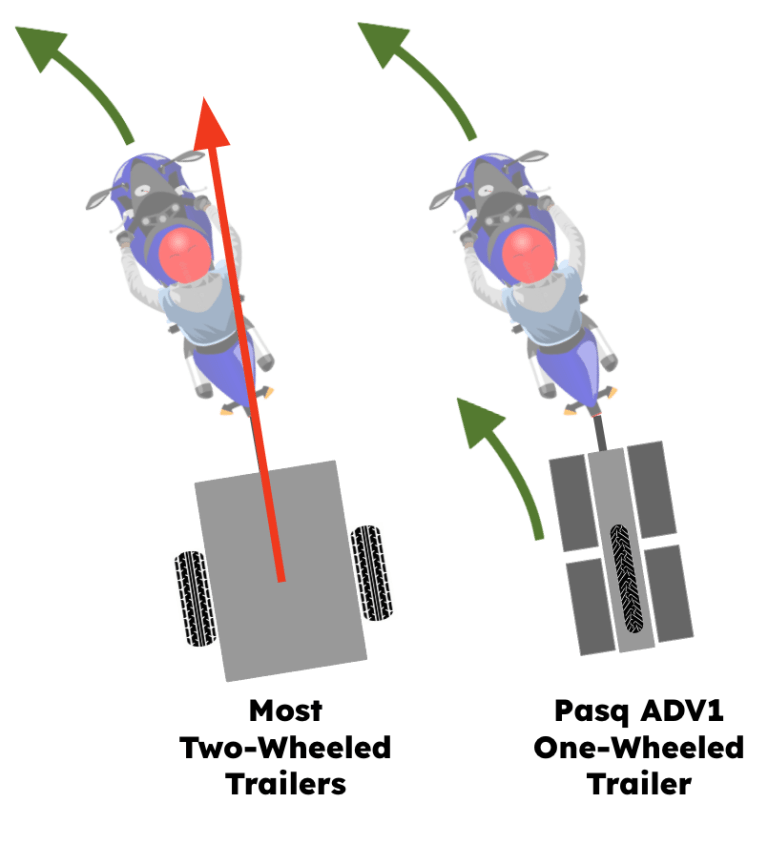
In the end, when you go straight through water with and ADV1 behind you, there will be only one set of tire tracks.
The centering plate for one bike will be included in the price of the ADV1.
3. Wiring Connector
We knew it was going to be very important for riders to be able to connect to the ADV1’s wiring harness. Some riders would be able to handle the wiring themselves, but most wouldn’t. Denali Electronics came to the rescue of those of us who aren’t comfortable splicing into our bike’s wiring harness.
Denali’s CANsmart Accessory Manager is the perfect solution. Just plug the CANsmart into the CAN on your bike, then plug in our wiring harness into the CANsmart and you’re ready to go!

Denali also has many plug-and-play harnesses for bikes that do not have a CAN system, like my beloved, reliable 2012 Super Ténéré! They sent me a harness with some simple instructions and I was able to install it in less than an hour, with no electrical tools required. I simply had to undo some connectors under the seat, and insert their harness into those connectors.
To make sure everything works perfectly, we have chosen Denali T3 Modular Switchback Signal Pods for the ADV1. And to close the loop, Denali has also designed the ADV1’s wiring harness.
Finally, you are also welcome to make your own wiring harness for your bike, if that’s how you roll!
Customized to Your Bike
By having three customized parts, the ADV1 can attach to nearly any adventure bike on the market. It only takes an axle adaptor, a centering plate, and a CANsmart or wiring harness from Denali.

